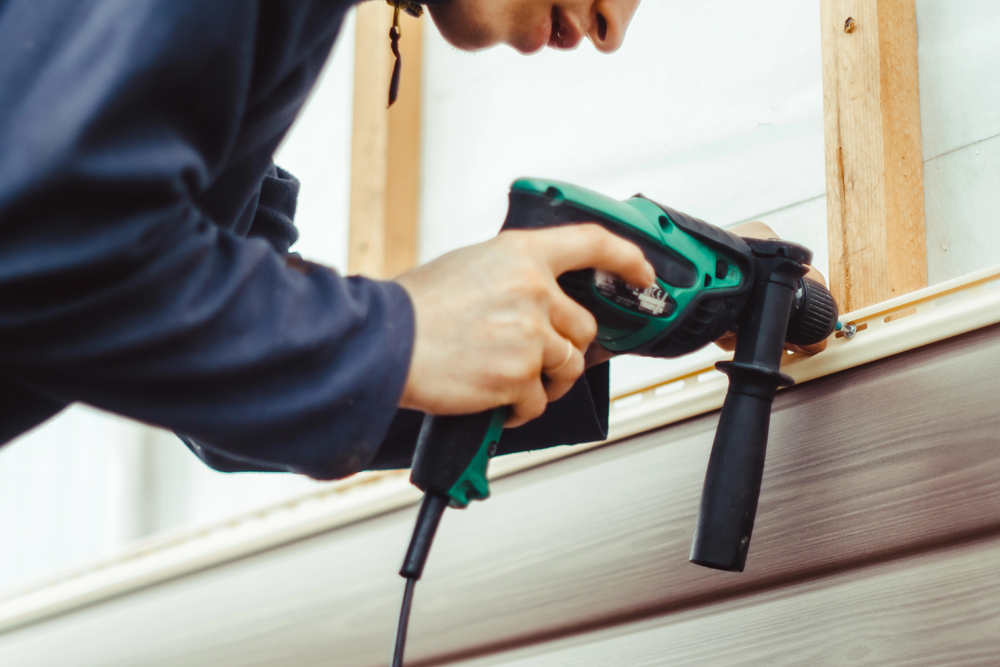
Installing Hardie board siding is an excellent way to enhance your home’s exterior, combining durability with aesthetic appeal. This fiber cement siding stands out for its exceptional resilience against harsh weather conditions, pests, and fire. By following a meticulous installation process, you can ensure a long-lasting, beautiful finish that protects your home. Here’s a step-by-step guide on how to install Hardie board siding effectively.
Gather the Necessary Tools and Materials
Before starting, ensure you have all the tools and materials needed. You’ll need:
- Hardie board siding
- Measuring tape
- Level
- Chalk line
- Circular saw with a fiber cement blade
- Hammer or pneumatic nail gun
- Galvanized nails
- Utility knife
- Safety glasses and dust mask
- House wrap
- Flashing tape
Prepare the Surface
The first step in installing Hardie board siding is to prepare the exterior wall surface. Ensure the wall is smooth, dry, and free from any old siding, nails, or debris. Apply a house wrap to provide a moisture barrier, which is essential for protecting the underlying structure from water damage.
Install the Trim Boards
Begin by installing trim boards around the windows, doors, corners, and along the bottom of the wall. The trim should be in place before you start with the siding panels. Use flashing tape to seal the edges of the house and wrap around the openings, ensuring a watertight barrier.
Measure and Cut the Siding Panels
Measure the wall where you will be installing the siding. Mark the measurements on the Hardie board siding using a chalk line. Cut the siding panels to the required length using a circular saw with a fiber cement blade. Always wear safety glasses and a dust mask when cutting fiber cement to protect yourself from dust and debris.
Begin Installation from the Bottom
Start installing the siding from the bottom of the wall and work your way up. Use a level to ensure the first row of siding is perfectly horizontal. This row sets the foundation for the rest of the siding, so accuracy is crucial.
Nail the Siding in Place
Place the first piece of siding along the bottom edge, leaving a small gap between the siding and the trim to allow for expansion. Secure the siding with galvanized nails, placing them about 1 inch from the top edge of the board. Space the nails evenly, approximately 16 inches apart, and ensure they penetrate the wall studs.
Overlap the Siding Panels
Each subsequent row of siding should overlap the previous row by at least 1.25 inches. This overlap helps ensure water runoff and protects the wall from moisture. Use a utility knife to trim the edges of the siding as needed to fit around windows, doors, and other openings.
Continue Up the Wall
Repeat the process, working your way up the wall. Measure, cut, and install each row of siding, ensuring each piece is level and properly overlapped. Check frequently to ensure the siding remains level as you progress.
Finish with the Top Row
The top row of siding may require special cuts to fit under the eaves or roofline. Measure carefully and cut the siding to fit snugly. Secure the top row with nails, ensuring all edges are well-sealed and any gaps are covered with trim or flashing tape.
Inspect and Seal
After installation, inspect the entire wall for any gaps, loose boards, or uneven sections. Use caulk to seal any joints or gaps around windows, doors, and corners to ensure a watertight finish. This final step is critical in maintaining the integrity and appearance of the siding.
Upgrade Your Home with New Jersey’s Top Roofing & Siding Installation Experts
Installing Hardie board siding requires careful planning and execution, but the result is a durable, attractive exterior that can withstand the elements. Ready to transform your home’s exterior with Hardie board siding? Alte Roofing is here to help. As New Jersey’s #1 Roof & Siding Replacement Contractor, we specialize in premium siding installations that boost your home’s curb appeal and durability.
Our GAF Master Elite Certified team ensures top-quality craftsmanship, using only the best materials, backed by industry-leading warranties. With over 25 years of experience, we offer a range of services, including roofing, siding, windows, and more. Trust Alte Roofing to protect and enhance your most valuable asset, your home. Contact us today for a FREE estimate.


 2022 Alte Roofing